Choosing where things go
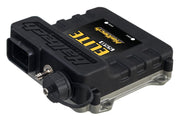
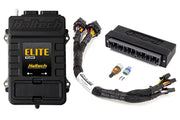
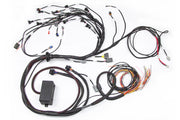
Pick the ECU location with the loom in hand. Lay the harness out and make sure every branch can reach its sensor, coil or injector without being stretched. Inside the cabin, away from engine heat and water, is the usual choice. Haltech prints a mounting template on the inside of the box sleeve, so don't throw the packaging out until the ECU is mounted.
Mounting the ECU
Use the template to mark and drill your holes, then fasten the ECU with M4 machine bolts. The important limit: no more than 4 mm (about 5/32") of thread should enter the ECU base once the bolts are tight. A longer bolt can bottom out and damage the case or what's inside it. Measure your bolt length against your bracket thickness before you tighten anything. For more detail on case styles, see the single connector and dual connector mounting guides.
Mounting the fuse block
Secure the fuse block with two bolts or screws somewhere you can reach it to change a fuse or relay. Vibration is the enemy here, so use locking hardware or thread locker so it can't shake loose over time. See fuse block assembly for the internals.
Through the firewall
Use an existing opening or drill a 2" (50.8 mm) hole in the firewall. Deburr and paint the edge, pass the loom through, then press the supplied grommet into place so the harness is sealed and protected from sharp metal. Route the engine side of the loom into the bay, but leave the ECU connector unplugged for now. It stays disconnected until the power and ground wiring is done and checked, starting with power and ground wiring.